What's in a Name? It could be a worksheet cell, a single range, or a non-contiguous range that you want to give a name to in Excel. Mercifully the Name box is one quick way to name a range.
Name a Range with the Name Box in Excel
To create a Name with the Name box in Excel:
- Select a cell or range
- Click the Name box
- Type the Name
- Press Enter
The Name can't have spaces and you can't use a Name that already exists.
Tip: When selecting a range, the Name box shows the number of rows and columns being selected. Below the Name box shows my selection is 1 row by 4 columns.
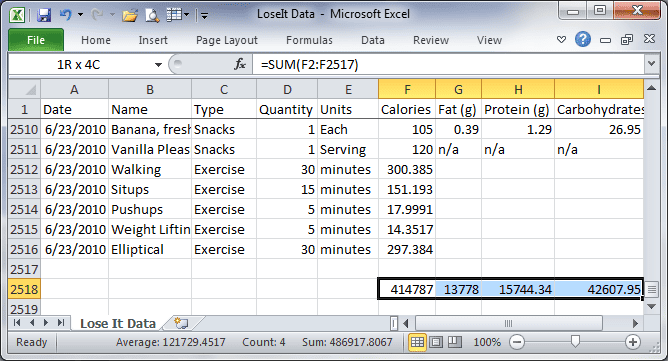
For the range F2518:I2518, I typed Total in the Name box (below), then pressed enter.

Select a Range with the Name Box
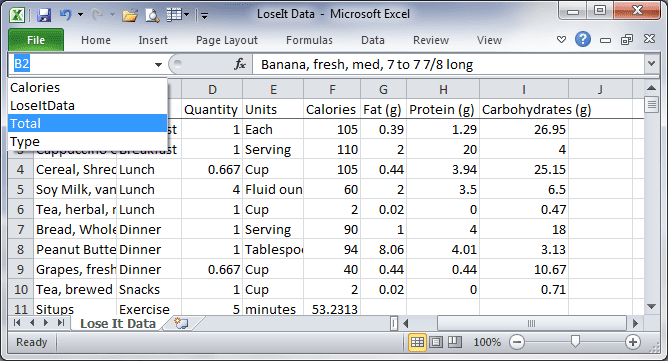
As we saw in the last post, you can use the Name box to select a range by simply typing in the range address.
However, using a Named Range is better because when you click the Name box drop-down arrow the Names are displayed on a list.
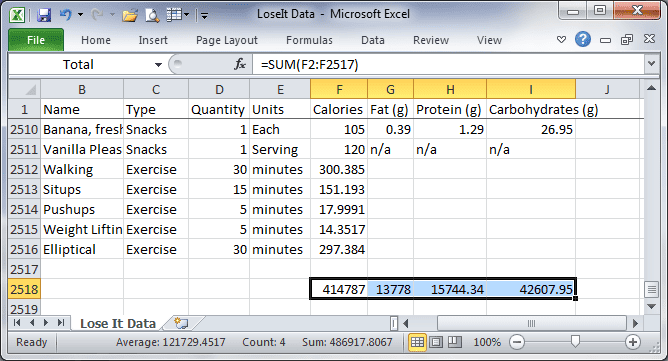
Selecting Total from the Name box list (above) takes me to row 2518 (below) faster than greased lighting.
Naming a Non-Contiguous Range with the Name Box
Use the Name box to give multiple ranges a single name.
- Hold the Control key down (Command key in Mac)
- Select a range
- Select another range (until you've got them all)
- Release the Control key (Command key in Mac)
- Click inside the Name box
- Type a name
- Press enter
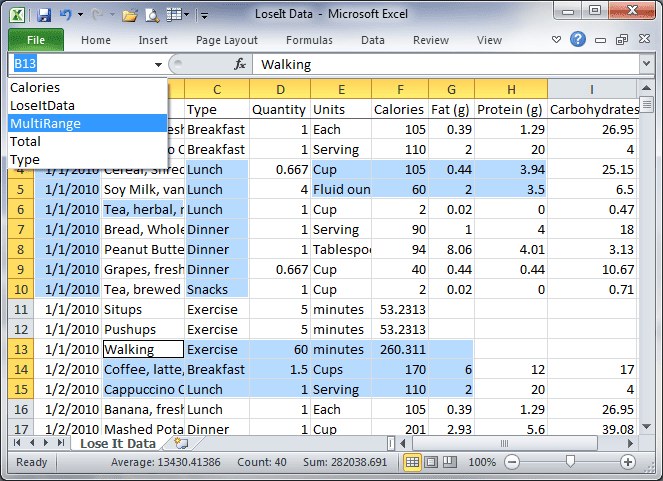
Below I've selected multiple, nonsensical ranges and called them MultiRange. (Didn't have a practical example. Sorry!)
I've not consolidated a non-contiguous range by giving it a Name. Off the top of my head, it might be useful in some formulas.
If you've given multiple ranges a single Name and know of a particular use for this technique, please let me know in the comments.