Microsoft Excel is a powerful spreadsheet software used throughout the world. One of the features within the software is the ability to easily add rows and columns to the spreadsheet. It is a simple feature that is easy to take advantage of and, once you know how to implement it, you'll be able to implement it whenever needed. So if you're a user of the program it is important for you to know how to add a row in Excel.
How to Add a Row In Excel

Image via flickr
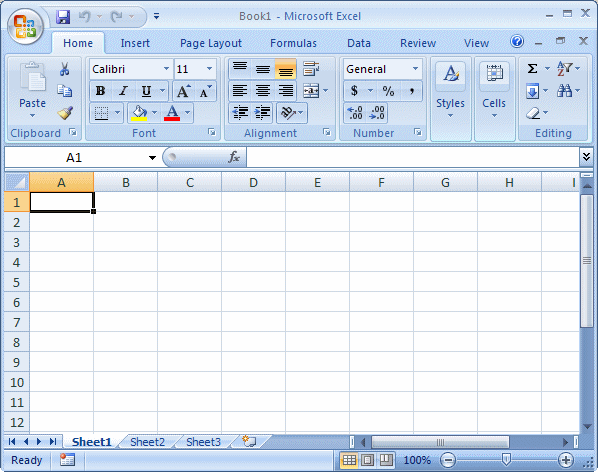
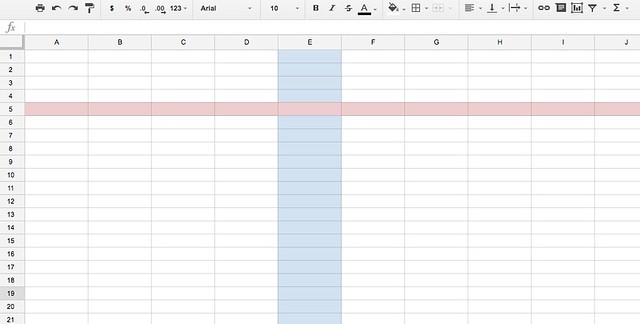
If you are interested in how to add a row to Excel, you'll want to click on the row heading right below where you want the new row to appear (so if you typed in row 7 and row 9 and discovered you forgot to type in your row 8 information, you'll want to select row 9. This way, when you add the new row it will insert between 7 and 9).
With the row selected, click on the "Insert" button at the top of the Home tab. The new row will now appear above the row you currently have selected.
Formatting the Row

Image via flickr
When you add in a new row, Excel will automatically format the row to look like the rest of the rows you already have. However, when you choose the "Insert" option there will be an "Insert Options" feature that appears on the row (the icon looks like a brush). If you want to change the look or format of the inserted row click on this brush icon, then choose either "Format Same As Left," "Format Same As Right," or "Clear Formatting."
Insert a Column
There might be times where you need to insert a new column of data instead of a new row. The process is similar, but it is important to go over. To begin, you need to select the column heading to the right of where you want the new column to appear (for example, if you want a column to appear between columns C and D, you will click on column D).
Now, select the "Insert" button on the top of the Home tab. The new column will appear.
Deleting a Row
There may be times when using Microsoft Excel where you want to delete a row. The steps for how to delete a row are similar to that of how to add a row in Excel.
Click on the row you want to delete. It is important to click on the header of the row and not the cell. If you click on the cell and choose the "Delete" feature you'll end up removing only the cell which may throw off your calculations and the alignment of the other cells in your spreadsheet.
So click on the number of the row you want to remove. You can click and drag over multiple row headers if you want to remove several rows from your spreadsheet at the same time.
With the row(s) selected, click on the "Delete" button found on the Home tab. This will delete the selected rows and all the rows underneath those removed will move up (so if you deleted row 5 and 6 your former row 7 will now be identified as row 5).
Delete Columns
If you need to remove columns instead of a row, the process is similar. You need to make sure and click on the header of the column. This selects the entire column. You can click and drag over multiple column headers if you want to remove multiple columns at the same time.
Once you have selected the column(s) you want to remove, choose the "Delete" button from the Home tab and the columns will be removed. Once again all the columns to the right will shift over to the left. So if you deleted columns D and E, the former column F will now be identified as column D.
If you renamed the column names, the names you created will remain the same.
Tips/Warnings

Image via flickr
When it comes to how to add a row in Excel, you will always want to follow through with a few tips and tricks. Following these tips and tricks will make it easier for you to implement the new row without causing problems with the overall file. The last thing you want to do is cause problems with your files and have to start over completely on a new spreadsheet document.
When looking at how to add a row in Excel, you need to make sure you select the heading of the row and not a cell. If you click on a cell and then choose "Insert," Microsoft Excel will add a new cell and not a new row (or a new column, if you're adding a column). So, if you're running into the problem of only adding a new cell, this is what is going on.
Clearing the Content
There is a difference between deleting an entire row or column and clearing out the content found within the row. You may want to remove all the current information currently found in the cells of a row or column, but if you still need the rows/columns present, you don't want to just delete everything. Instead, you need to follow a "Clear Contents" option.
In order to use the "Clear Contents" option, you will need to click and drag over the rows and columns you wish to clear out. You can either click on the row/column header to select the entire row/column, or you can click and drag over specific cells.
Once you have selected the regions you want to click out, you'll need to right-click within the area you selected (or Control-click if you're using a Mac), then choose "Clear Contents" from the pull-down menu. This will clear out the cells but leave the cells open.
Move a Row/Column
Perhaps you don't need to delete, clear out, or add a row/column. Maybe instead you need to move it. You find information is in the wrong order or you think it would be easier to work if the row is found in a different area of the spreadsheet. You will not need to follow the how to add a row in Excel instructions as these do differ some.
First, you'll want to click on the header of the row you want to move. Once you do this select the "Cut" command found on the Home tab (it is a pair of scissors icon). If you're using a Windows computer, you can use the keyboard shortcut of Ctrl+X (or Command+C if you're using a Mac).
Now, click on the row under where you want the copied row to go. Once you have it selected click on the "Paste" tool found on the Home tab. if you're using a Windows computer, you can use the keyboard shortcut of Ctrl+V (or Command+V on a Mac computer).
Hide/Unhide Row/Column
There might be times where you want to compare two rows together but there are other rows in between that blocks your view. In this case, you will want to hide rows. By hiding rows, you can press two rows together temporarily.
These instructions are similar to how to add a row in Excel. Click on the row header of the rows you want to hide. Chances are there are multiple rows you want to hide so click on all the rows you want to hide for the time being.
Now, right-click on the area you selected and choose "Hide" from the pull-down menu. A green line will remain between the newly created rows. When you want to bring the rows back, you'll want to choose the rows above and below those that are hiding, then right-click in the selected area. Choose "Unhide" from the pull-down menu and the hidden information will appear back onto your screen.
Conclusion
Microsoft Excel is one of those programs you either will never use or you will use on a daily basis. If you are a user of the software, there are a few specifics you must master. One of these features is how to add a row in Excel. When you're able to add and remove rows in Excel, you will be taking the first major step in utilizing the power of the software and how it can make your professional life easier.
